Setting up n8n and importing workflows correctly is essential for building reliable automation systems. This guide walks you through installing n8n, accessing the editor, and importing workflows.
What Is n8n?
n8n (pronounced n-eight-n) is a powerful fair-code workflow automation tool that lets you connect apps, APIs, and services without heavy coding. It is commonly used for:
- Business process automation
- HR and recruitment workflows
- Marketing automation
- IT operations and monitoring
- AI-powered chatbots and agents
Setup Options Overview
n8n can be set up in multiple ways, depending on your use case, scale, and infrastructure preferences:
- n8n Cloud (Hosted) – Fully managed by n8n, no server maintenance required
- Self-hosted (Docker) – Recommended for production and full control
Method 1: Set Up n8n Cloud
n8n Cloud is the official hosted version of n8n. It is the fastest way to get started, as infrastructure, updates, and security are managed for you.
Steps:
Go to the n8n Cloud website.
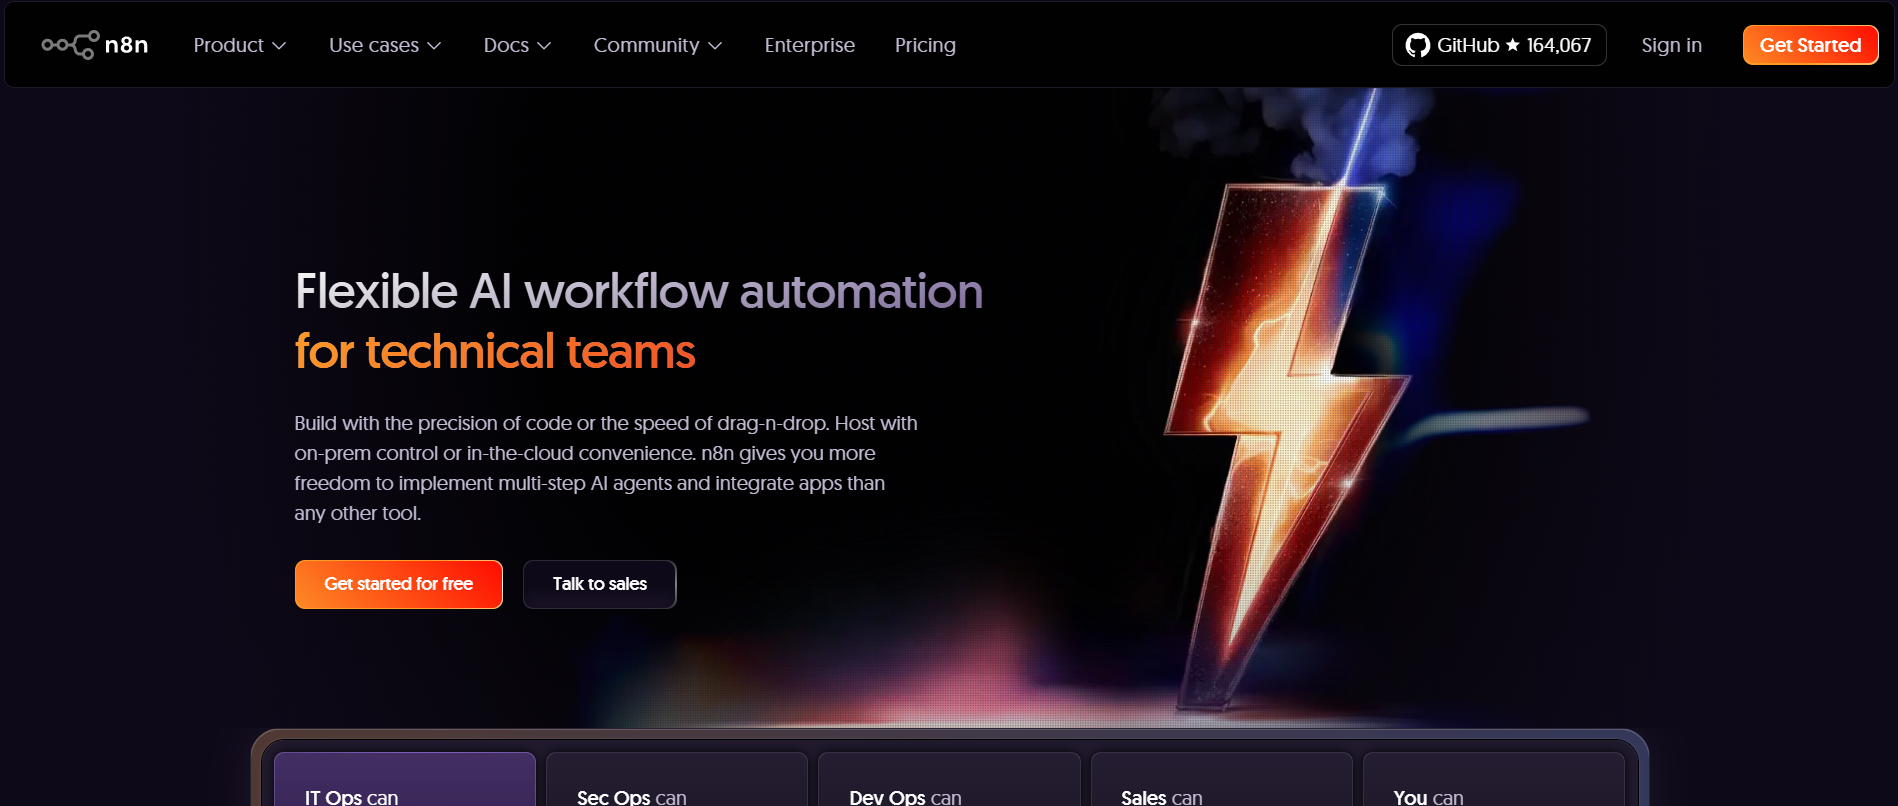
Sign up using your work/personal email by clicking the get started button.
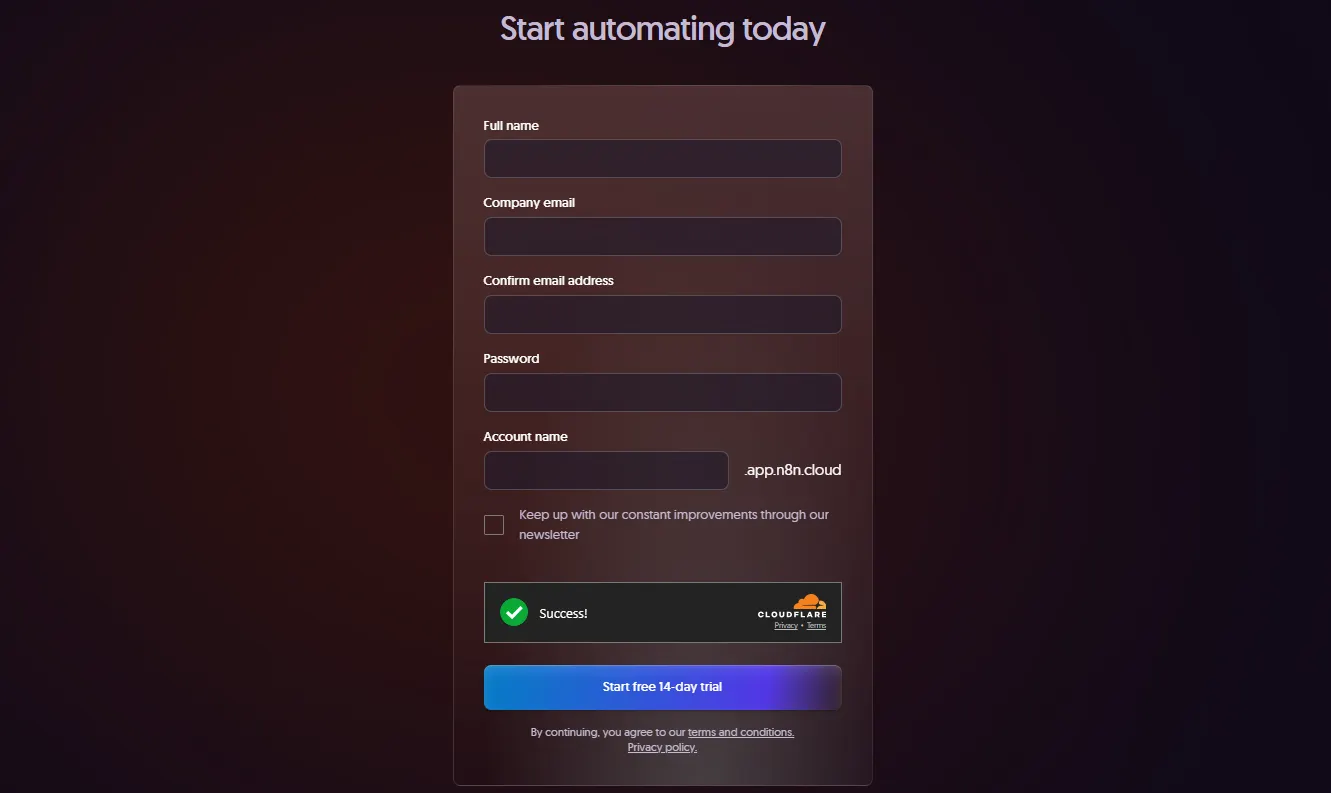
Fill up all the required information and start the free 14-day trial.
Method 2: Set Up Local n8n Using Docker
Using Docker is the best practice for production and long-term use.
Steps:
Download and install Docker Desktop based on your operating system.
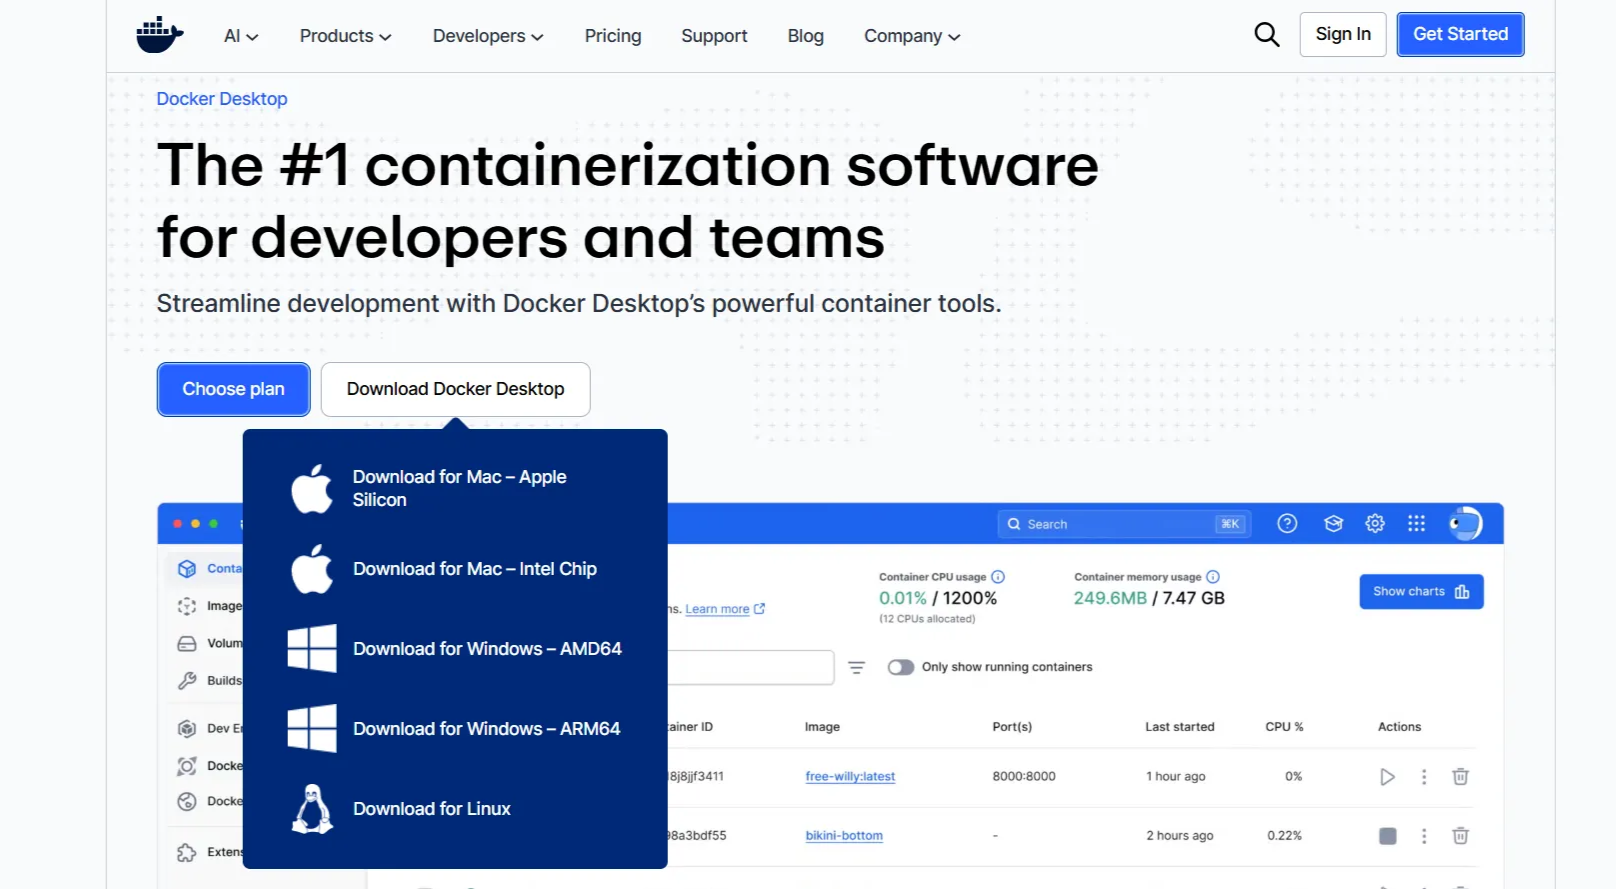
Launch Docker Desktop.
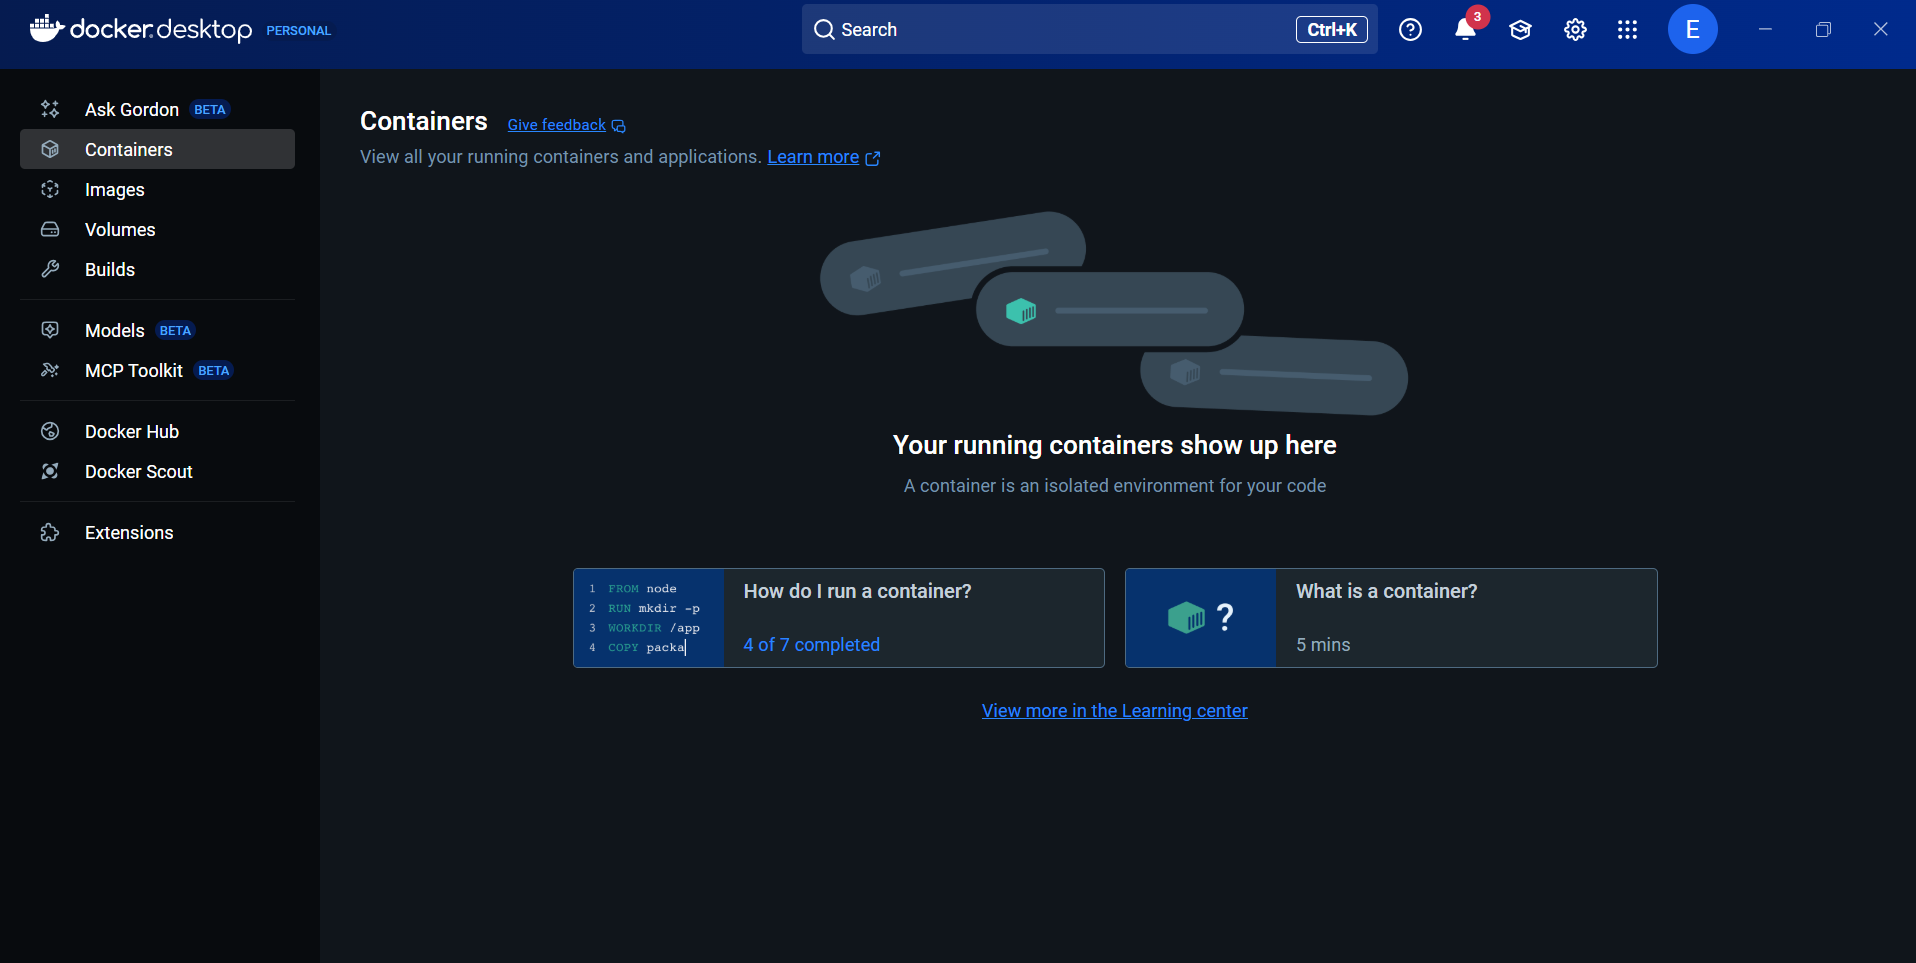
In the search bar at the top of the page, search for “n8n”.
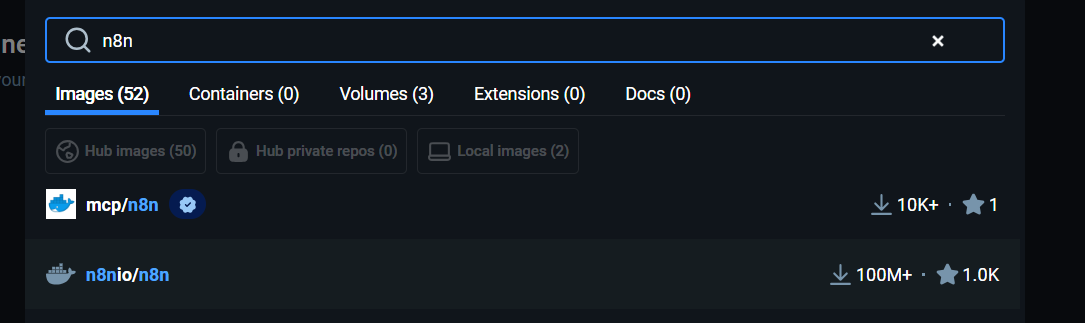
Go to
n8nio/n8nand pull the Docker image.
Create a new container by clicking Run on the
n8nio/n8nimage.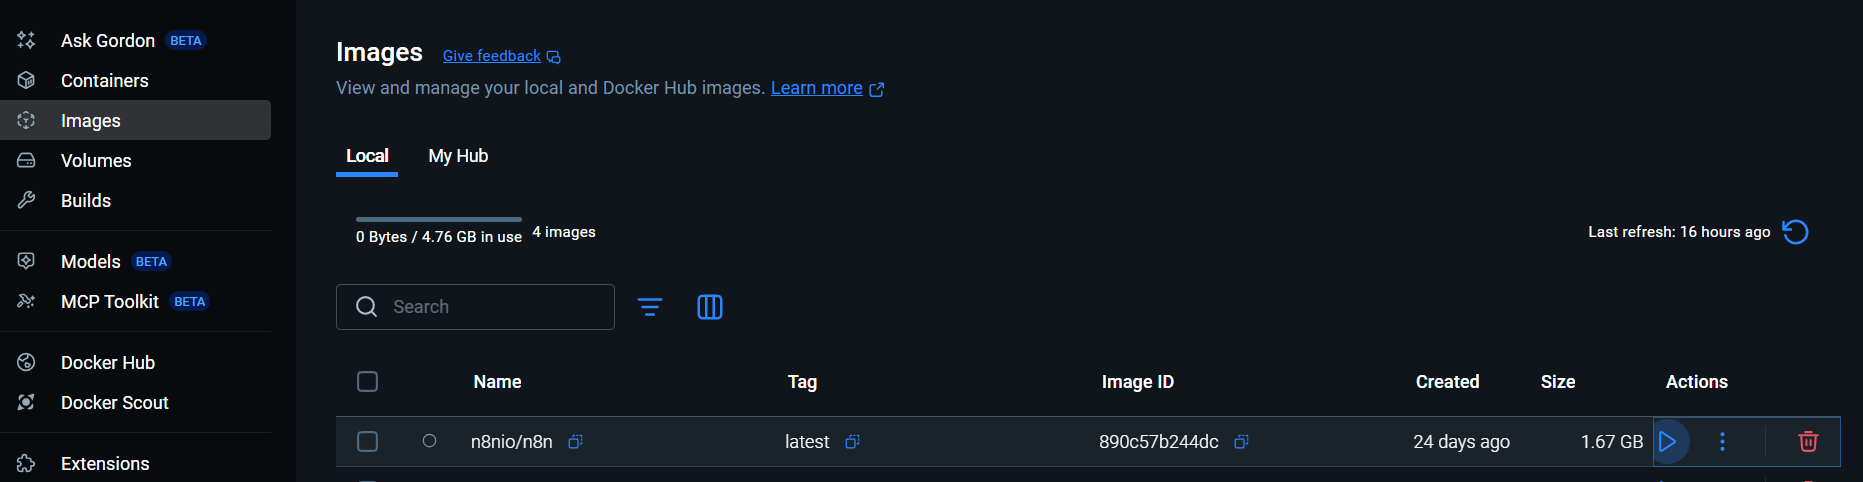
Create a new file directory to be the volume.
Configure the container name and port mapping.
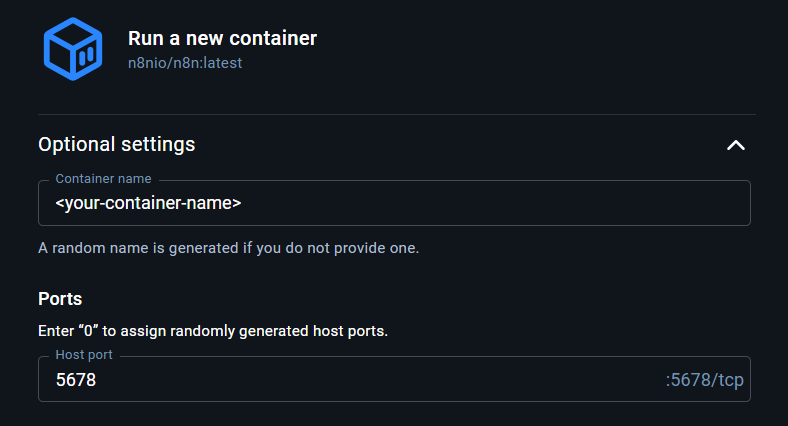
Set the volume path to the directory you created in Step 6.
Under Environment variables (optional), you may add the following:
N8N_BASIC_AUTH_ACTIVE→trueN8N_BASIC_AUTH_USER→ your preferred usernameN8N_BASIC_AUTH_PASSWORD→ a strong password
Hit “Run”
You can then access the n8n editor at http://localhost:5678.
How to Import n8n Workflows from Supern8n
n8n workflows are typically shared as JSON files. Importing them correctly ensures all nodes and connections remain intact.
Steps:
- Download the zipped files of the workflow you have purchased.
- Extract the zipped files.
- Search for a “.json” file type.
- Open your n8n workspace and Create Workflow.
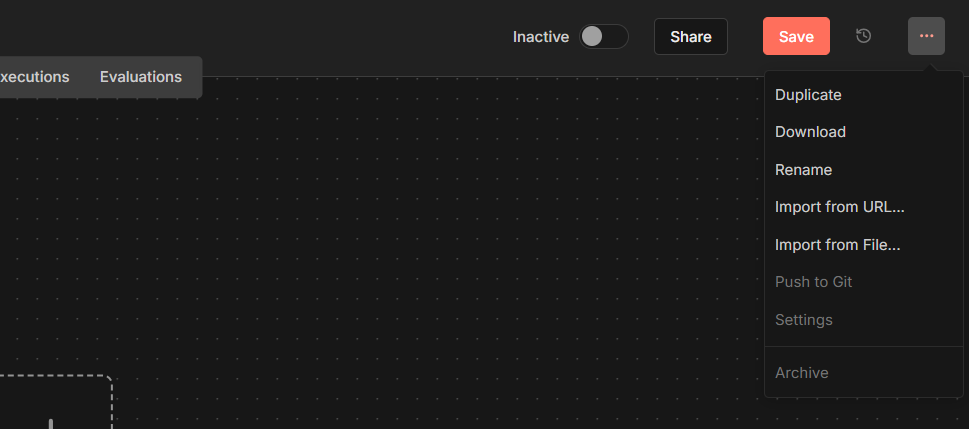
Click on the three dots at the top right corner and choose the option “Import from File…”.
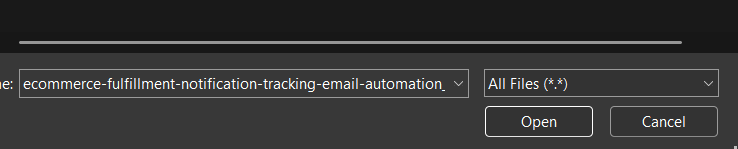
Select and open the json file that has been extracted.
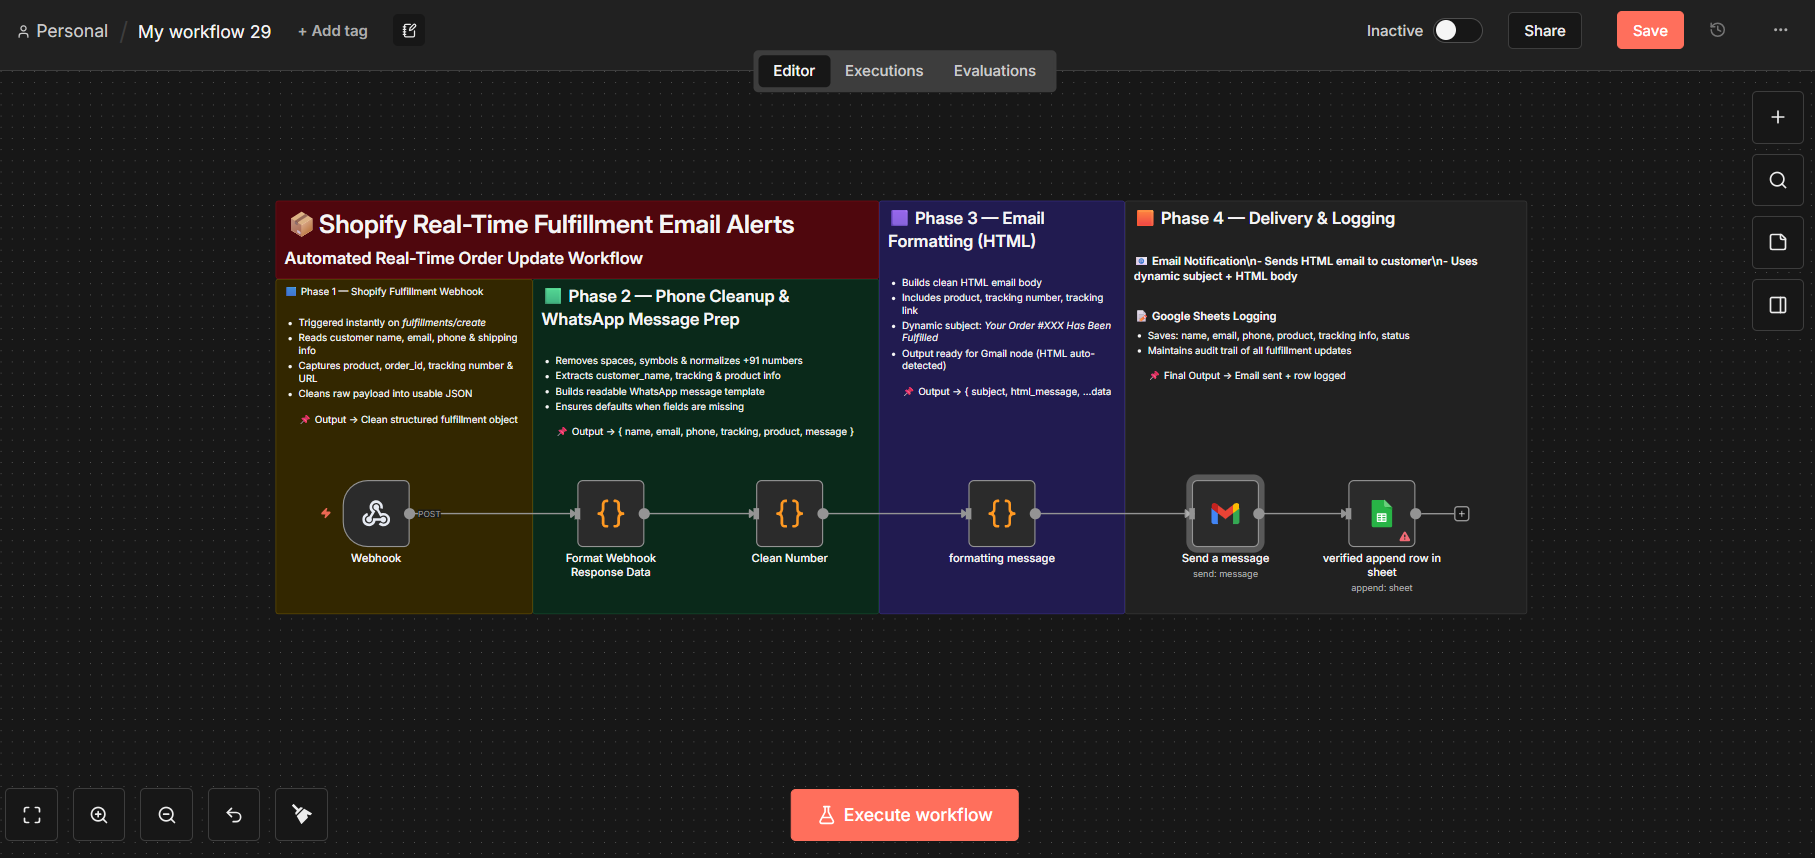
Post-Import Checklist (Best Practices)
After importing a workflow, always:
- Reconfigure credentials (API keys, OAuth, tokens)
- Test each node individually
- Verify webhook URLs
- Check cron or trigger schedules
Why Use n8n for Workflow Automation?
- Fair-code and source-available
- Highly customizable
- Strong community support
- Supports AI agents and LLM integrations
- No vendor lock-in